Design Tutorial Central - Making An HF Userbar
This is extremely easy to make. I guarantee that anyone will be able to make their own user bars after this tutorial. Also it's my first tutorial, so be gentle.
Requirements:1. Adobe Photoshop (Any will do, but I made mine with CS5 Portable)
2. Font named "Kremlin Bolshevik"
3. The HF Userbar Template.
2. Font named "Kremlin Bolshevik"
3. The HF Userbar Template.
Getting Started:
Now that you have all the requirements, let's get started.
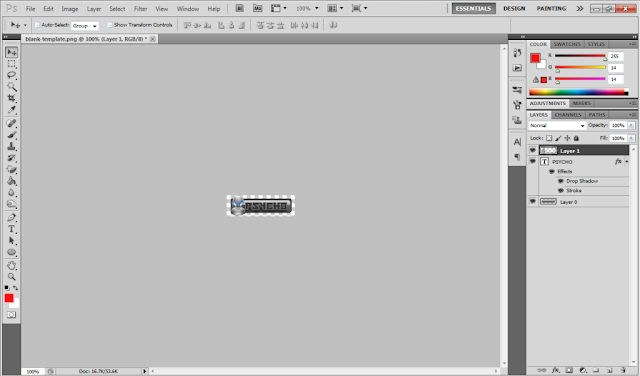
1. First you'll want to open up the template in Photoshop.
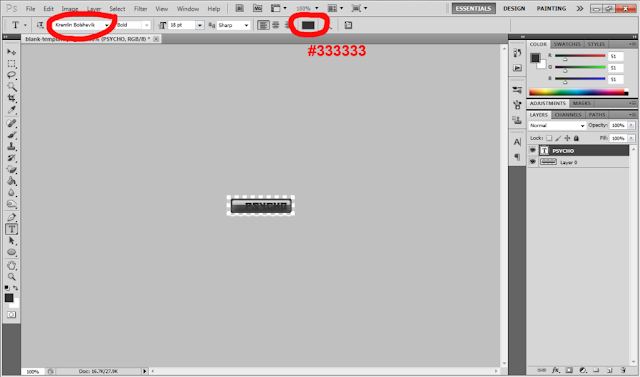
2. Next, you'll want to go to your Type Tool and set the settings.
Change the font to "Kremlin Bolshevik", font size to about 18 px. depending on how long your text will be, and change the text color to #333333.
Now you'll want to write your text. In my case it's "Psycho". You'll also want to play around with the capitalization of the text to get a different form of each letter.
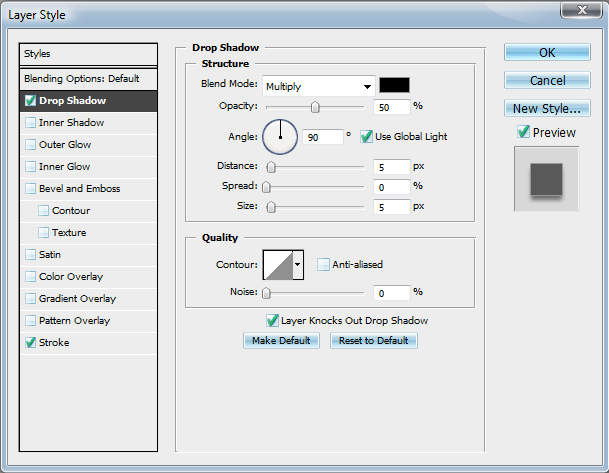
3. Now we want to edit our text layer. So double-click on the text layer in the layers palette to the right to bring up the "Layer Style".
We will add a Drop Shadow and a Stroke to our text.
For the Drop Shadow use 50% Opacity and the angle at 90°. Leave the rest at default.
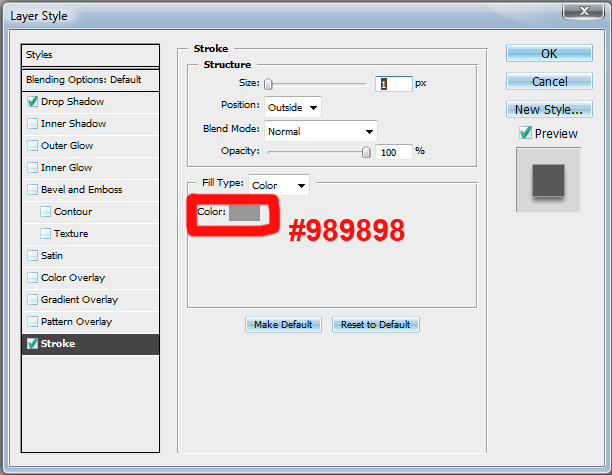
As for the Stroke size use 1 px and the color at #989898. Leave the rest at default.
For the Drop Shadow use 50% Opacity and the angle at 90°. Leave the rest at default.
As for the Stroke size use 1 px and the color at #989898. Leave the rest at default.
Drop Shadow:
Stroke:
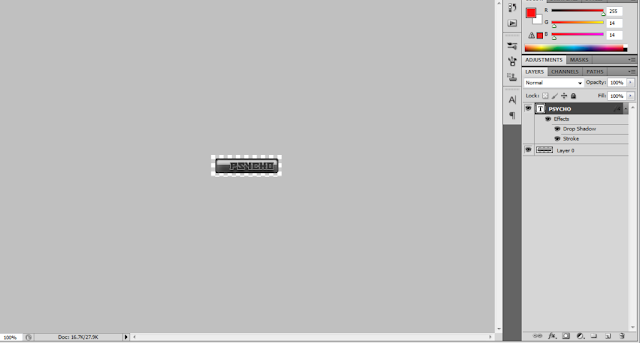
4. Now your text should look something like this:
5. Now it's time to look for an icon. For this it's up to you on what to use.
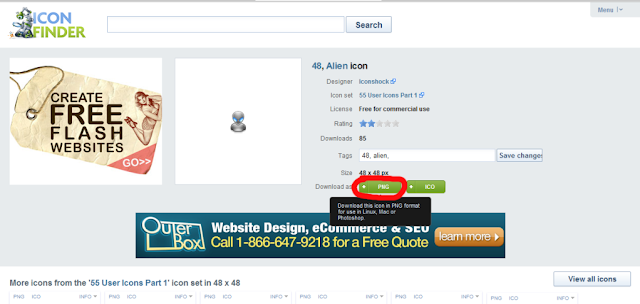
I like going over to http://www.iconfinder.com/ because they have some really nice free icons. Alternatively, you can do a quick "Google" search.
Once you find an icon you like, save it as a .PNG.
I like going over to http://www.iconfinder.com/ because they have some really nice free icons. Alternatively, you can do a quick "Google" search.
Once you find an icon you like, save it as a .PNG.
6. Now we place our icon and re-size if needed.
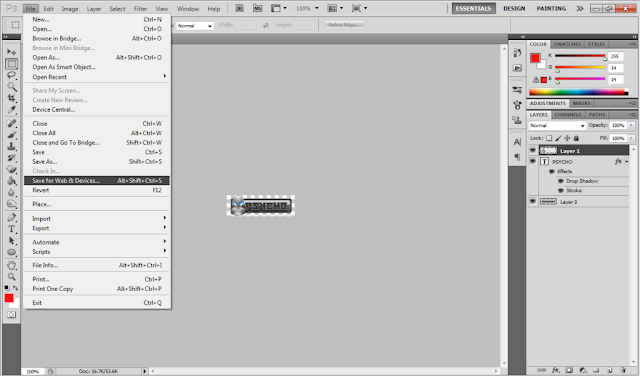
7. To save it we want to "Save for Web & Devices". (You may also want to save a .PSD for editing later on.)
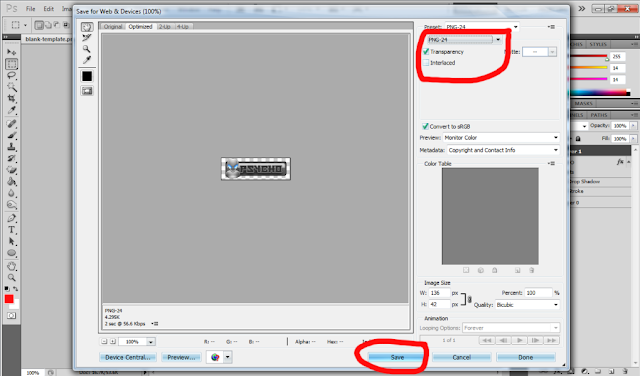
8. After you click on "Save for Web & Devices", a window like this will pop up. You'll want to make sure you save the file as a PNG-24 for higher quality. Also make sure you have the "Transparency" box ticked. Then click on "Save".


